
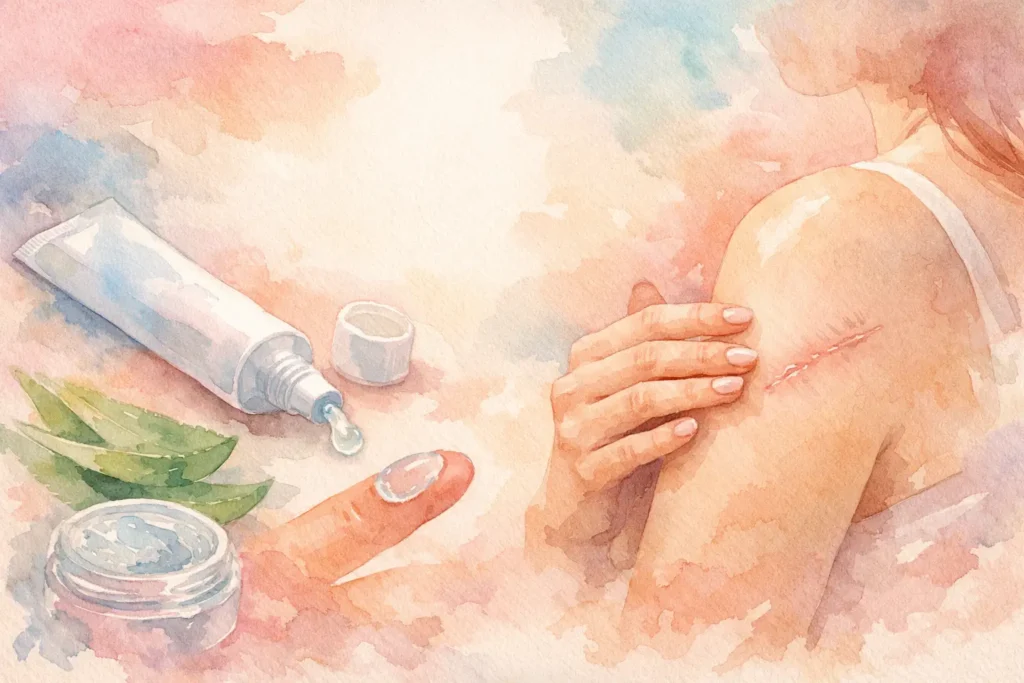
A scar gel can only do its job if you apply it the right way. If you are searching for how to use silicone scar gel, the key is not using more product. It is using a thin, consistent layer on fully closed skin, at the right stage of healing, and sticking with it long enough to see change.
That matters because silicone scar gel is not a quick cosmetic cover-up. It is a scar management product used to help improve the appearance of scars over time. Done correctly, it can support flatter, softer, less noticeable scars. Done inconsistently, even a high-quality, verified product may underperform.
How to use silicone scar gel step by step
Start with skin that is fully healed on the surface. The wound should be closed, with no open areas, drainage, or active scabbing. Silicone gel is for scar management after the skin has sealed, not for fresh open wounds.
Wash the area gently with mild soap and water, then pat it completely dry. Moisture left on the skin can affect how the gel sets. Once the skin is dry, squeeze out a very small amount and spread it in a thin layer over the scar. Thin is the standard. If you can still see a heavy wet shine after a minute or two, you probably used too much.
Let the gel dry before putting clothing, makeup, sunscreen, or other products over it. Drying time varies by how much you used and where the scar is located, but a few minutes is typical. If it stays tacky for a long time, reduce the amount next time.
Most silicone scar gels are used twice daily unless the product instructions state otherwise. Regular use matters more than occasional heavy application. A controlled, consistent routine usually gives better results than overapplying for a few days and then stopping.
When to start using silicone scar gel
Timing affects results. In most cases, the best time to begin is once the wound has fully closed and your healthcare professional has cleared topical scar care, especially after surgery or a burn. Starting too early can irritate vulnerable skin. Starting later is still worthwhile, but newer scars generally respond faster than older ones.
For surgical scars, people often begin after stitches or closures are removed and the incision is sealed. For acne marks, the area should no longer be open or inflamed. For burns, you should wait until the skin is closed and stable. If there is any doubt, wait for medical guidance rather than guessing.
This is one of the most common mistakes buyers make online. They focus on the product and ignore the healing stage. A verified, quality-controlled silicone gel is only appropriate when the scar site is ready for it.
How much silicone scar gel should you apply?
Less is usually better. A pea-sized amount may be enough for a small scar, while larger scars need a bit more. The target is a very thin film across the scar area, not a thick coating sitting on top of the skin.
Using too much does not speed up scar improvement. It usually leads to slow drying, transfer onto clothing, and wasted product. For buyers managing repeat treatment or clinics ordering in volume, proper application also improves consistency and helps control usage per tube.
If the gel pills, smears, or stays sticky, use less. If the area feels tight or irritated, review whether the skin is fully healed and whether other products are interacting with it.
How long should you use silicone scar gel?
Scar management takes time. Many people use silicone gel for at least 8 to 12 weeks on newer scars. Older or more pronounced scars often require a longer period, sometimes several months. The exact timeline depends on the scar type, age, location, skin response, and how consistently the gel is used.
A surgical line on the abdomen may behave differently than an acne scar on the cheek or a burn scar over a joint. Movement, friction, and sun exposure can all affect how a scar looks during recovery. That is why realistic expectations matter. Silicone gel supports visible improvement, but it does not erase a scar overnight.
Consistency is where most successful routines separate from disappointing ones. If you apply it twice a day for one week and then forget for ten days, results are harder to judge. A stable schedule matters.
Using silicone scar gel on different scar types
Not every scar behaves the same way, so application stays simple but expectations should be adjusted.
For surgical scars, the goal is often to help reduce redness, thickness, and raised texture as the incision matures. These scars usually benefit from an early, disciplined routine once the skin is closed.
For acne scars, silicone gel tends to be most useful on marks that are raised or still in active remodeling. Deep pitted acne scars are different. Silicone may help with overall scar care, but it is not the same as procedures designed for texture loss.
For burn scars, patience matters. Burn-related scarring can be more unpredictable and may need longer-term management. Use only when the area is fully healed and follow any care plan already provided.
For older scars, results can still happen, but they may come more gradually. Older scars are often more stable, which means visible change can take longer. That does not mean treatment is pointless. It means you should approach it with a realistic timeline.
What to avoid while using silicone scar gel
Do not apply it to open wounds, active infections, or areas with drainage. That is a basic safety issue, not a minor detail.
Do not pile on multiple heavy skincare products over the scar before the gel dries. If you use sunscreen or cosmetics, let the silicone film set first. On facial scars, this step is especially important because layering too quickly can cause rolling or uneven coverage.
Do not scrub the scar aggressively. More friction does not mean better healing. In some cases, repeated rubbing can make the area more reactive.
Do not expect immediate change in a few days. Scar remodeling is gradual. Buyers looking for reliable results usually do best with verified product quality and a repeatable daily routine, not guesswork.
How to know if your routine is working
The first changes are often subtle. A scar may start to feel smoother, look less dry, or seem slightly flatter over time. Redness may soften gradually. Raised areas may become less firm. These changes are usually incremental rather than dramatic.
Take a photo every two to four weeks in the same lighting if you want a more objective view. Day-to-day checking can be misleading. Scars naturally shift in color depending on temperature, sun exposure, and skin irritation.
If you notice persistent burning, rash, or worsening irritation, stop using the product and reassess. It may be a reaction to the gel, another topical product, or the fact that the skin was not fully healed when you started.
Choosing a silicone scar gel you can trust
For something applied repeatedly to healing skin, quality control matters. Buyers should look for a silicone-based scar gel from a source that emphasizes verified supply, batch consistency, and secure fulfillment. That is especially relevant for professional purchasers, clinics, and repeat buyers who cannot afford uncertainty around product authenticity.
Dermatix Ultra is one example often chosen by customers who want a specialized scar management product rather than a generic listing with unclear sourcing. That kind of purchasing decision is not just about convenience. It is about confidence in what you are applying and confidence that repeat orders will match the same standard.
For individual users, that means less uncertainty. For wholesale and institutional buyers, it means more predictable inventory and product consistency.
How to use silicone scar gel consistently in real life
The easiest routine is the one you will actually maintain. Apply it after your morning cleanse and again in the evening. Keep the tube where it fits into an existing habit, not buried in a drawer. If the scar is under clothing, give the gel time to dry before dressing.
If you miss one application, just resume the normal schedule. There is no need to overcorrect with extra product. A controlled routine works better than uneven bursts of treatment.
If your scar is in a high-friction area, such as the waistline, shoulder, or near a bra strap, be extra careful about using a thin layer and letting it dry fully. Those details sound small, but they affect how well the product stays in place and how comfortable daily use feels.
Good scar care is not complicated, but it does reward precision. Apply a thin layer, start only when the skin is fully closed, stay consistent, and give the process time to work. When the product is trusted and the routine is disciplined, you give your skin the best chance to heal with fewer surprises.